Now or later? Online or in class? What if we finally get pregnant... would I stay in school or quit and have this conversation with myself again later? These are just some of the many questions floating around my head right now.
I could move early to attend school in an actual classroom, but then I would be without my wonderful husband for a semester. I could wait and just go back to school next spring, but then if I was to be (finally) pregnant that probably wouldn't work either. Would I want to start school, start a family, quit school, and then start again later?
Then there is the question of motivation... Last time I was in school I got really burned out, and then spending time studying Arabic at DLI turned my brain to mental mush. Do I even really want to go now? I know that it would definitely be easier before we have a family, but is my brain really ready to commit to that again?
Who knows what I'll do. At least I have a month or two to decide; although its probably the sooner the better. Just some things to consider...
Thursday, April 28, 2011
Thursday, April 21, 2011
Irish Cream Chocolate Cheesecake
Oh my goodness "wonderful" and "amazing" do not even begin to describe this cheesecake. I will definitely be making this one again and again.
But before we get started here are some easy tips to keep your cheese cake from cracking.
1. Bring all cold ingredients to room temperature
2. Thoroughly grease and flour your pan
3. Place a broiler pan full of boiling water on the rack below the cheesecake in the oven.
Okay, I think we are ready. So as usual gather all of your ingredients. For this cheese cake you will need:
For the cheese cake For the crust
3 (8oz) packages of cream cheese 1 1/2 cups of crushed oreos
1 1/4 cup white sugar 1/3 cup of powdered sugar
1/4 cup unsweetened cocoa powder 1/3 cup coco powder
3 tablespoons all-purpose flour 1/4 cup butter
3 eggs
1/2 cup sour cream
1/4 cup Irish cream liqueur
**Tip** to grease and flour I sprayed the pan with crisco spray, then dropped a couple of tablespoons of flour in the middle and then rolled it around.

2. Put the cheesecake in the oven (with the broiler pan of boiling water below), and bake at 450 degrees F for 10 minutes. After the 10 minutes is up, turn the oven down to 250 degrees F, and bake for another 60 minutes.
3. Turn the oven off, but DO NOT REMOVE THE CHEESECAKE. Leave the cheesecake in the closed oven for 6-8 hours (or overnight). After you wait this ridiculously long time you can remove your cheesecake from the oven.
4. Take a knife and loosen around the edges of the cheesecake. Gently remove the rim of the pan. Then stare at your beautiful dessert in awe of your handy work, after this, place your cheesecake in the fridge to chill before you serve it.

But before we get started here are some easy tips to keep your cheese cake from cracking.
1. Bring all cold ingredients to room temperature
2. Thoroughly grease and flour your pan
3. Place a broiler pan full of boiling water on the rack below the cheesecake in the oven.
***WARNING***
Although this cheesecake will be one of the best you have ever eaten, it takes several hours to make. :( So don't wait until an hour before company comes to pop it in the oven. Okay, I think we are ready. So as usual gather all of your ingredients. For this cheese cake you will need:
For the cheese cake For the crust
3 (8oz) packages of cream cheese 1 1/2 cups of crushed oreos
1 1/4 cup white sugar 1/3 cup of powdered sugar
1/4 cup unsweetened cocoa powder 1/3 cup coco powder
3 tablespoons all-purpose flour 1/4 cup butter
3 eggs
1/2 cup sour cream
1/4 cup Irish cream liqueur
Crust
Turn the oven on, and preheat to 350 degrees . In a the mixing bowl add the oreo crumbs, powdered sugar, and cocoa powder. Then add the butter (its easiest if its melted) and stir until mixed. I found it was easier to use my hands, but that was extremely messy because of the coco/butter combo. When it is mixed, press the mixture into the bottom of a 9 inch springform pan (I didn't have a springform so I just used a regular 9 inch round, and it turned out fine. Its just a little harder to serve). Next, put the crust in the oven for 10 minutes. Take it out and put it in the freezer to cool off. Now turn the oven up to 450 degrees F. **Tip** to grease and flour I sprayed the pan with crisco spray, then dropped a couple of tablespoons of flour in the middle and then rolled it around.

Cheesecake Filling
1. Put all the cream cheese, white sugar, 1/4 cup cocoa and flour in the mixer, and mix on medium until its smooth. Next add the room temperature eggs one at a time, mixing in between. Then, add the sour cream followed by the Irish cream liqueur (I used Bailey's), and continue mixing on low speed until its blended nice and well. Finally pure the filling on top of the crust (get it out of the freezer now).2. Put the cheesecake in the oven (with the broiler pan of boiling water below), and bake at 450 degrees F for 10 minutes. After the 10 minutes is up, turn the oven down to 250 degrees F, and bake for another 60 minutes.
3. Turn the oven off, but DO NOT REMOVE THE CHEESECAKE. Leave the cheesecake in the closed oven for 6-8 hours (or overnight). After you wait this ridiculously long time you can remove your cheesecake from the oven.
4. Take a knife and loosen around the edges of the cheesecake. Gently remove the rim of the pan. Then stare at your beautiful dessert in awe of your handy work, after this, place your cheesecake in the fridge to chill before you serve it.
***NOTE***
If somehow after all of your precautions your cheesecake manages to crack. You can dampen a spatula with warm water and gently smooth over the top, and then sprinkle with more oreo crumbs.... you may want to do this even if it doesn't crack just so you can have oreo crumbs on top (I know there just isn't enough chocolate in this recipe to begin with). 
ENJOY!!!!
 |
| Here is my piece! |
Tuesday, April 19, 2011
Post Falure :(
What to do, when what you were going to do fails? If you have the answer, please let me know. haha For yesterdays post, I was planning on sharing my favorite, no fail, homemade sugar cookie recipe. It is simply the best, and also very simple. However, for the first time in the dozens of times I have made these cookies, I made some mistake. They were rock hard! I know it was me and not the recipe, because they are always PERFECT! I mean technically I could have gone ahead and iced them and said "look at these beautiful Easter cookies", but that just seemed wrong. So then plan B was to remake them today, but (and here is my rant for the day) I had to drive 2.5 hours to the nearest military hospital to get some blood drawn. We got there, I got poked, got complimented on my veins (apparently they're beautiful... weird but not the first time I've heard this), and then we headed back home. All fine and good except for we hit the morning commuters, and then got stuck in more traffic after that. Apparently a big rig carrying diesel hit the center median and caught fire, then went BOOM. So needless to say the highway was shut down and I spent an hour just sitting on the highway. (Don't worry the driver made it out okay). It took me almost 5 hours to make a 2.5 hour drive. :( So I am forgoing the cookie recipe for the week. My DH is having his wisdom teeth taken out Thursday, so tomorrow I am going to make an Irish Cream Chocolate Cheesecake that he will be able to eat... eventually... if there is any left. Anyways, that is my rant/story/excuse for the day. Maybe I'll share the cheesecake with you all tomorrow!
OnMommysApron
OnMommysApron
Friday, April 15, 2011
New Items !!!
Today I thought I would feature my own shop. I have been creating new items and recently switched my store to a different site. So here are my latest items in my new store!


Nursing Covers!!!!
Both of these are double sided, but I have single sided ones that will have a terry cloth corner on the under side coming soon. I am also thinking of including with all the cover orders a matching drawstring bag that the cover can go in so it won't be sprawled out inside the diaper bag... what do you all think? I don't have babies yet... Is this something you think would get used or would it be a waist of time to make?
Baked Potato Pouches
Both of these are "Personal" sized they will hold up to 2 potatoes, but today or tomorrow I'll have up "Family" sized ones that will hold 4. These are also great for steaming veggies! Pop a couple of potatoes in these, throw it in the microwave, and in 4-6 minutes you have a hot, steaming baked potato!
Throw Pillow Cover
So this is the only pattern I have up now but I am thinking of doing a couple more patterns and in my next ones putting zippers in on the bottom edge instead of the snaps, so the pillow cover can be two sided as well.
Well that is most of my new stuff, but please come by and check out my new store on Zibbet, this is where I will be posting all of my items from now on.
Also don't forget that I have a Mother's Day Sale going on just use coupon code: MOTHERSDAY
Tuesday, April 12, 2011
Easy Shop Banners For Mac Users
So I have recently found the easiest, quickest way to make a simple shop banner using my Mac. I was so excited, because for some reason I did not think it could be done easily. However, using this method I have been able to create a Zibbet Shop Banner an Etsy Shop Banner in no time at all!!! So I am going to show you how as well. You are going to be just as excited I'm sure.
1. First you are going to need to make sure you have the following programs:
You can check to make sure you have these applications by going to the finder or you might have an applications folder on your dock (they should all be in there). On my computer I already had iPhoto and Preview, but I did not have Pages. If you are like me, you might not have pages already installed on your Mac. Don't worry though you can go to the apple store, and get a 30 day free trial!!! So you don't have to pay anything. NOTE: after your 30 day trial the program will still open but you wont be able to save anything until you purchase the program. So once you download the program get to work!! Although, I like it so much I am considering paying for it so I can keep using it after the trial is up... just a side note haha.
2. So now you have all of the neccessary programs. Open up I photo and select the photo of choice for your background. Once you have picked out the lucky photo, I like to duplicate it in case I mess it up. To do this click the photo, the on the tool bar up top click photos, the click duplicate. There, now you have two. Next, click the copied photo then, click edit, then click crop. Next the cropping window will pop up. Now you need to check constrain. Once you have done that in the left box type in 640 (for Zibbet) or 720 (for Etsy) and the type in 120 (for Zibbet) or 100 (for Etsy). DON'T HIT APPLY. In the background you will notice a highlighted area on the picture. Move this area around until you have it highlighting the part of the picture you want to use. Once you are happy with this click apply. Next if you want, you can play around with different effects to get the look you want. When you are finally finished click done. Next you need to export. So click File then Export. Now change "kind" to JPEG, the "Quality" to High. Next change "Size" to Custom, then Max change to "Width" of 640 (for Zibbet) or 100 (for Etsy), then change "File Name" to "Use File Name". Then hit "Export". Finally choose where to save the file (I normally choose the desktop so its easy to find).
3. Now that you have the photo in the shape of your banner. Open up pages. Once it is open choose blank canvas. Once this opens click the blue inspector button (mine is in the upper right hand corner of the page). Next click document and uncheck the headers and footers. Now you can close the inspector if you want. Now that that is finished drag your banner into your blank document. Click Text Box and one should pop up on your document somewhere. Once inside of your text box you can change the font, color, and size on the tool bar at the top of the page. You can re-size the text box and move it around. Have fun make it yours. If you want more fonts or don't have any you like you can go to dafont to find more. Make sure you aren't violating any copy rights though, so read before you download. Once you are happy with how your banner looks you need to group everything together into one object. To do this click an item and hold the command key down as you continue clicking objects until you have successfully clicked all of them. Once you have done this you need to click arrange (its on the very top tool bar of the screen) and then click group. If you change your mind later you can always go back and hit the ungroup. Finally go to the very top tool bar again and click edit and then click copy. Yay!!! you are almost finished. Only one more step to go.
4. Now that you have your completed banner you need to open the last app. Preview. When you click to open this app. nothing happens, but you will notice that the top tool bar now says Preview instead of Pages. When it says Preview, click file, then click New From Clipboard. Now it will open your banner in the Preview app. Now go back to the top tool bar and click file, then save as... When the save as window opens up type your file name in the "Save As" box. Select your location to save it in the "Where" box, then in "Format" click JPEG then in "Quality" slide the cursor over to Best. Then click Save. Congratulations!!! You have now finished your banner and can upload it to Zibbet or Etsy or wherever else you need it.
I have read and re-read this to make sure I didn't leave out any steps or type something in wrong, but if it doesn't work for you or you realize I left something out please email me onmommysapron@gmail.com so I can edit this little tute.
Also, Don't forget Mothers Day is only a couple of weeks away. You can use coupon code: MOHTERSDAY at htt://www.zibbet.com/OnMommysApron, and you will save 10% off of your Mothers Day order. We are also having free shipping on all of our aprons. So take a look and let me know if there is anything else you would like to see.
1. First you are going to need to make sure you have the following programs:
1. iPhoto
2. Pages
3. Preview
You can check to make sure you have these applications by going to the finder or you might have an applications folder on your dock (they should all be in there). On my computer I already had iPhoto and Preview, but I did not have Pages. If you are like me, you might not have pages already installed on your Mac. Don't worry though you can go to the apple store, and get a 30 day free trial!!! So you don't have to pay anything. NOTE: after your 30 day trial the program will still open but you wont be able to save anything until you purchase the program. So once you download the program get to work!! Although, I like it so much I am considering paying for it so I can keep using it after the trial is up... just a side note haha.
2. So now you have all of the neccessary programs. Open up I photo and select the photo of choice for your background. Once you have picked out the lucky photo, I like to duplicate it in case I mess it up. To do this click the photo, the on the tool bar up top click photos, the click duplicate. There, now you have two. Next, click the copied photo then, click edit, then click crop. Next the cropping window will pop up. Now you need to check constrain. Once you have done that in the left box type in 640 (for Zibbet) or 720 (for Etsy) and the type in 120 (for Zibbet) or 100 (for Etsy). DON'T HIT APPLY. In the background you will notice a highlighted area on the picture. Move this area around until you have it highlighting the part of the picture you want to use. Once you are happy with this click apply. Next if you want, you can play around with different effects to get the look you want. When you are finally finished click done. Next you need to export. So click File then Export. Now change "kind" to JPEG, the "Quality" to High. Next change "Size" to Custom, then Max change to "Width" of 640 (for Zibbet) or 100 (for Etsy), then change "File Name" to "Use File Name". Then hit "Export". Finally choose where to save the file (I normally choose the desktop so its easy to find).
3. Now that you have the photo in the shape of your banner. Open up pages. Once it is open choose blank canvas. Once this opens click the blue inspector button (mine is in the upper right hand corner of the page). Next click document and uncheck the headers and footers. Now you can close the inspector if you want. Now that that is finished drag your banner into your blank document. Click Text Box and one should pop up on your document somewhere. Once inside of your text box you can change the font, color, and size on the tool bar at the top of the page. You can re-size the text box and move it around. Have fun make it yours. If you want more fonts or don't have any you like you can go to dafont to find more. Make sure you aren't violating any copy rights though, so read before you download. Once you are happy with how your banner looks you need to group everything together into one object. To do this click an item and hold the command key down as you continue clicking objects until you have successfully clicked all of them. Once you have done this you need to click arrange (its on the very top tool bar of the screen) and then click group. If you change your mind later you can always go back and hit the ungroup. Finally go to the very top tool bar again and click edit and then click copy. Yay!!! you are almost finished. Only one more step to go.
4. Now that you have your completed banner you need to open the last app. Preview. When you click to open this app. nothing happens, but you will notice that the top tool bar now says Preview instead of Pages. When it says Preview, click file, then click New From Clipboard. Now it will open your banner in the Preview app. Now go back to the top tool bar and click file, then save as... When the save as window opens up type your file name in the "Save As" box. Select your location to save it in the "Where" box, then in "Format" click JPEG then in "Quality" slide the cursor over to Best. Then click Save. Congratulations!!! You have now finished your banner and can upload it to Zibbet or Etsy or wherever else you need it.
I have read and re-read this to make sure I didn't leave out any steps or type something in wrong, but if it doesn't work for you or you realize I left something out please email me onmommysapron@gmail.com so I can edit this little tute.
Also, Don't forget Mothers Day is only a couple of weeks away. You can use coupon code: MOHTERSDAY at htt://www.zibbet.com/OnMommysApron, and you will save 10% off of your Mothers Day order. We are also having free shipping on all of our aprons. So take a look and let me know if there is anything else you would like to see.
Friday, April 8, 2011
Shops of the Week!!!!
Featured Shop!!!
Bradens Grace
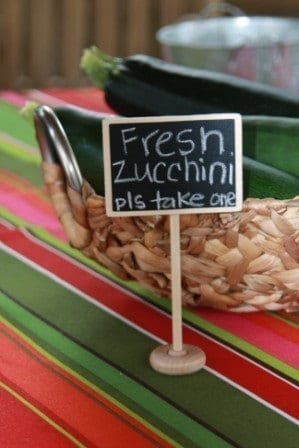 |
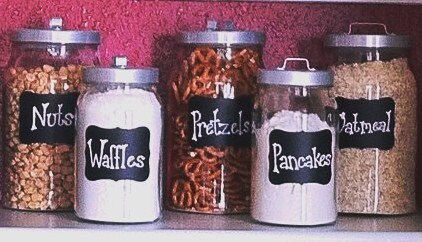
| I like these to... Table Signs!!! |
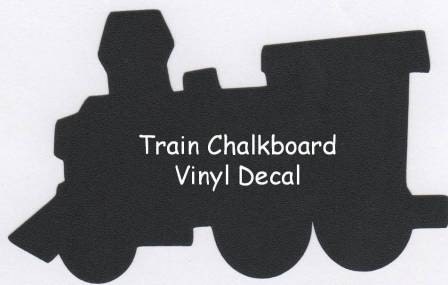 |
| Wall Art Chalk Board Style!!!! |
Check out these other great Etsy items. These are just some of the many great shops on Etsy. If you do not shop there already, I highly recommend it. There are tons of outstanding, quality, handmade items available. Or if you are a crafter, they have tons of shops that sell supplies for whatever it is that you are working on.
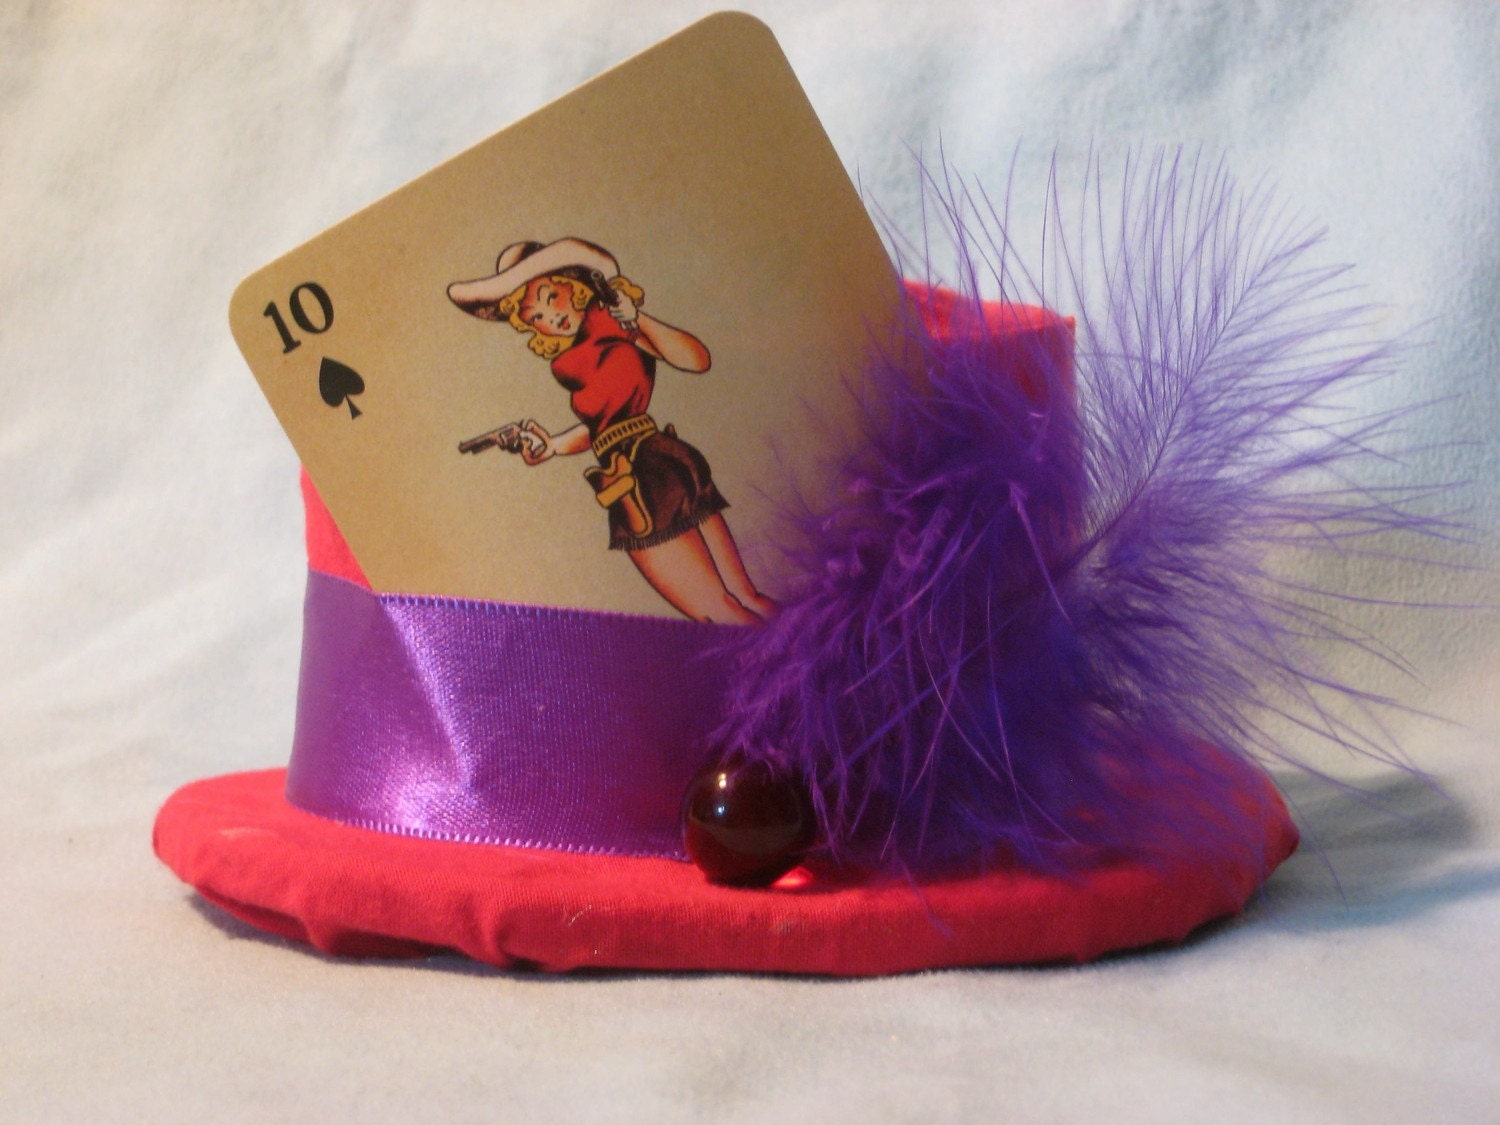 |
| Mad Little Hatter |
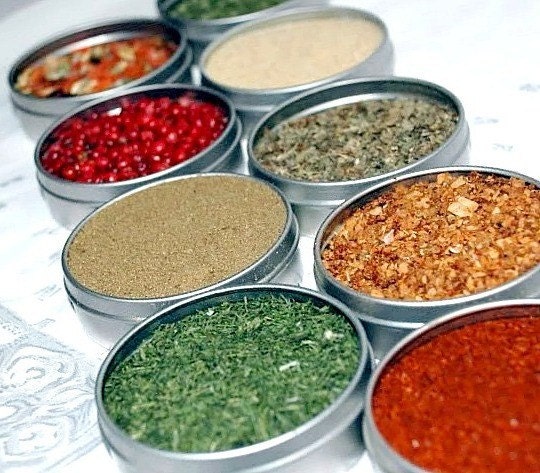 | |
| Dell Cove Spices |
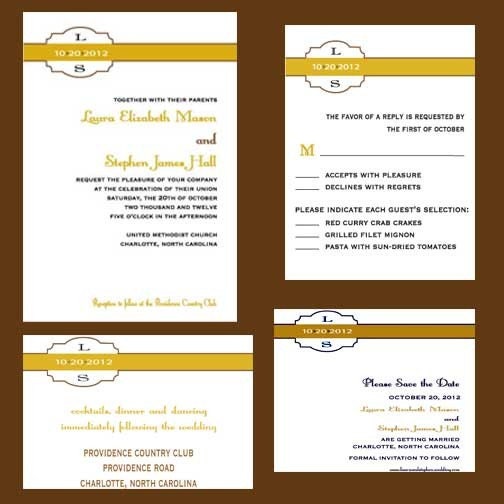 |
| LJL Designs Stationary |
 |
| Lakeside Sewing & Boutique |
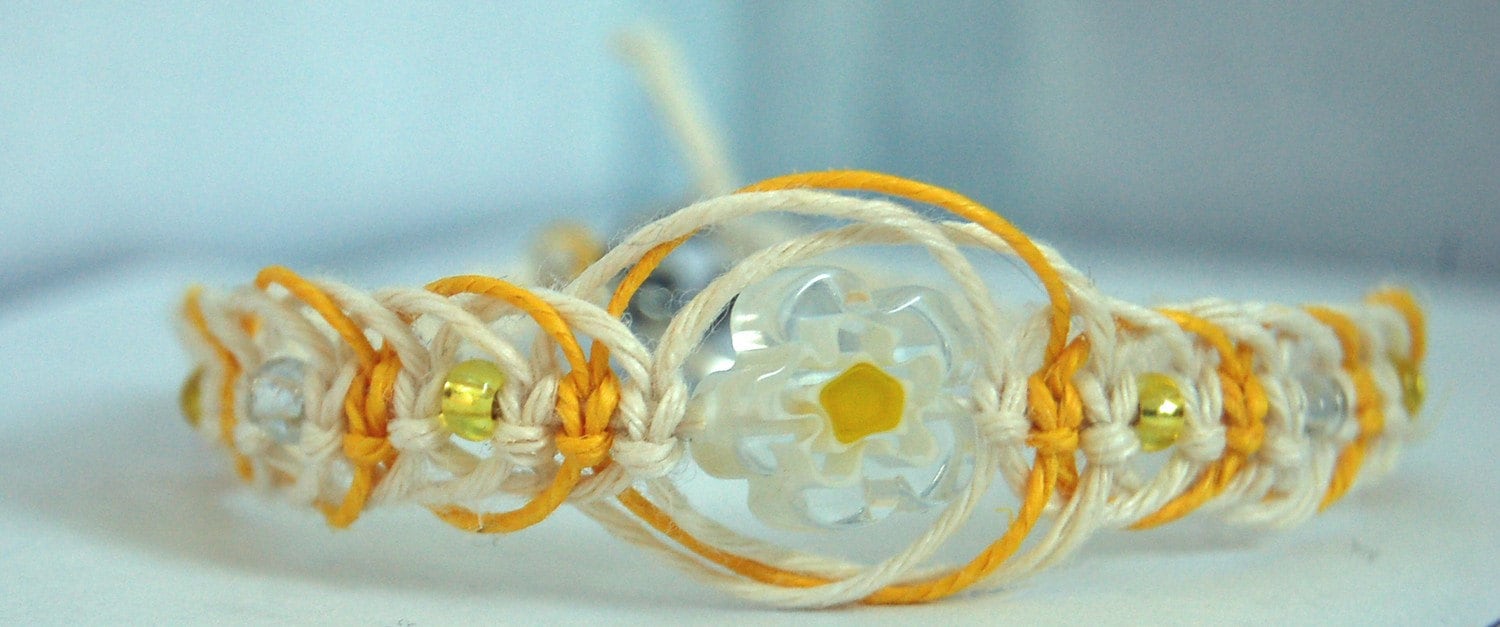 |
| Zimikas Treasure Trove |
Wednesday, April 6, 2011
Crazy Animals :)
So for a bit of fun today. I thought I would share a couple of interesting animal photo's (well just 2) that I took while I was out and about in the last week.
The first should be introduced by saying where I live there are many deer. They are everywhere, and because of this they really do not notice the human population much any more. With that being said here is photo #1.

The all of the deer used the crosswalk!!! Well I guess they have learned something SAFETY FIRST!
Ok for my second interesting photo all, I'll say is this guy walked right up to the car yesterday morning, when I was waiting out side the hospital to go home. I saw a ton of rabbits running around but couldn't get any decent pictures :(

Ok well that is all I have today. These gave me a good smile. Hoped you enjoyed them to.
Monday, April 4, 2011
A Monday Meal- Calzone
Its Monday and the start of a new week. (Thank goodness last week was loooonnnnggggg!!!!!) So in celebration of a fresh start I am going to share a favorite recipe in my house... the calzone.


First- Gather Your Ingredients.
1 cup hot water (110 degrees), 2 tbsp sugar, 2 tsp active dry yeast, 2-3 cups all purpose flour, 1 tsp dried basil
Second- Ready The Yeast
I put the water, sugar, and then the yeast in my kitchen aid mixer. Then wait for it to get all nice and bubbly

Third- Add The Rest
Next add the basil and 2 cups of flour. Then mix with the dough hook. Now here is where it might get tricky for some. After you get everything all mixed in touch the dough. If it is very sticky you need to add a bit more flour. After you add flour turn the mixer back on. After its mixed stop it and touch it again. It should be moist to the touch but not sticky enough to get stuck to you.

Fourth- Cover and Let Rise
When dough is double in sized. Punch it down and recover. Let rise again until it is double in size again.

Fifth- Roll It Out
Put a couple of tbsp of olive oil on your baking dish of choice and roll out the dough, either circle or rectangle works just fine.
Sixth- Add Topings
You are only going to put toppings on half of the dough. Once all the toppings are on the dough you are going to fold over the other half and press the edges to create the pocket. When adding toppings I normally alternate a topping with cheese. For ours I usually use ground sausage, pepperoni, ham, and salami. Then for the cheese I use mozzarella, extra sharp cheddar, and occasionally crumbled goat cheese. I also like to add a little garlic powder to the top and a little melted butter.
Seventh- Bake
In a preheated oven bake at 375 degrees for 20-30 minutes depending on the thickness of your dough. It will be a nice golden brown color when it is finished.
 |
| A bad attempt. What can I say I was in a hurry this night :( |
Eight- Enjoy
Kind of self explanatory but remove from the oven, cut into pieces, and eat!
Happy Eating!!
Subscribe to:
Posts (Atom)